Install Exchange Server 2019 on Windows Server 2019
By Vladimir Mikhalev · Docker Captain · CNCF Ambassador · IBM Champion
This article is for those looking for a detailed and straightforward guide on installing Exchange Server 2019 on Windows Server 2019.
CAUTIONRead this before you install (updated 5 November 2026). Exchange Server 2019 left extended support on 14 October 2025, according to Microsoft’s lifecycle page: no more security updates. Its successor is Exchange Server Subscription Edition (SE), whose first release is code-equivalent to Exchange 2019 CU15, and Microsoft documents an in-place upgrade “from Exchange Server 2019 CU14 or CU15 directly to Exchange Server Subscription Edition (SE)” on the what’s new page. For a new deployment, install Exchange SE. This guide still applies to a lab, to an existing 2019 organization you are about to upgrade, and to the many steps SE setup shares with 2019.
WARNINGThis guide walks you through installing Exchange Server 2019 without implementing failover.
NOTEThe official hardware requirements for Exchange 2019 are detailed on Microsoft’s website.
IMPORTANTWe will consider the case when you already have two servers with the Windows Server 2019 operating system installed on them. In addition, one of the servers must have the Active Directory Domain Services role installed.
For details on installing Windows Server 2019, read my guide: Install Windows Server 2019.
IMPORTANTIn addition, one of the servers must have the Active Directory Domain Services role installed, and the second server must be domain joined.
To learn how to install Active Directory Domain Services on Windows Server 2019, read: Install Active Directory Domain Services on Windows Server 2019.
NOTEAfter installing Exchange Server 2019, follow my guide to complete the configuration: Configure Exchange Server 2019.
IMPORTANTThe screenshots in this guide come from Exchange Server 2019 Cumulative Update 3 (September 2019). Download the latest Cumulative Update instead: CU15 is the last one for Exchange 2019, and it is also one of the two starting points Microsoft accepts for an in-place upgrade to Exchange SE. Each CU is a complete Exchange installation that includes updates and changes from all previous CUs. You don’t need to install previous CUs or Exchange 2019 RTM.
WARNINGWindows Server 2019 requires all available updates to be installed before installing Exchange Server 2019.
On the future Exchange server, go to the system under an account that consists of the following groups: Enterprise Admins, Schema Admins, and Domain Admins.
Before preparing Active Directory and installing Exchange Server 2019, you need to install additional software on the future Exchange server:
- Visual C++ Redistributable Package for Visual Studio 2012
- Visual C++ Redistributable Package for Visual Studio 2013
- Unified Communications Managed API 4.0
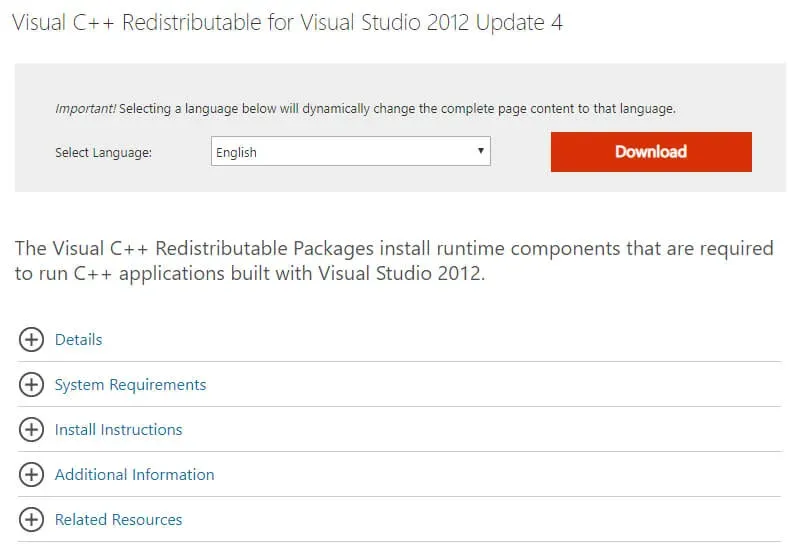
Install Visual C++ Redistributable Package for Visual Studio 2012.
Go to the Microsoft download page and select the “Download” button to begin the process.
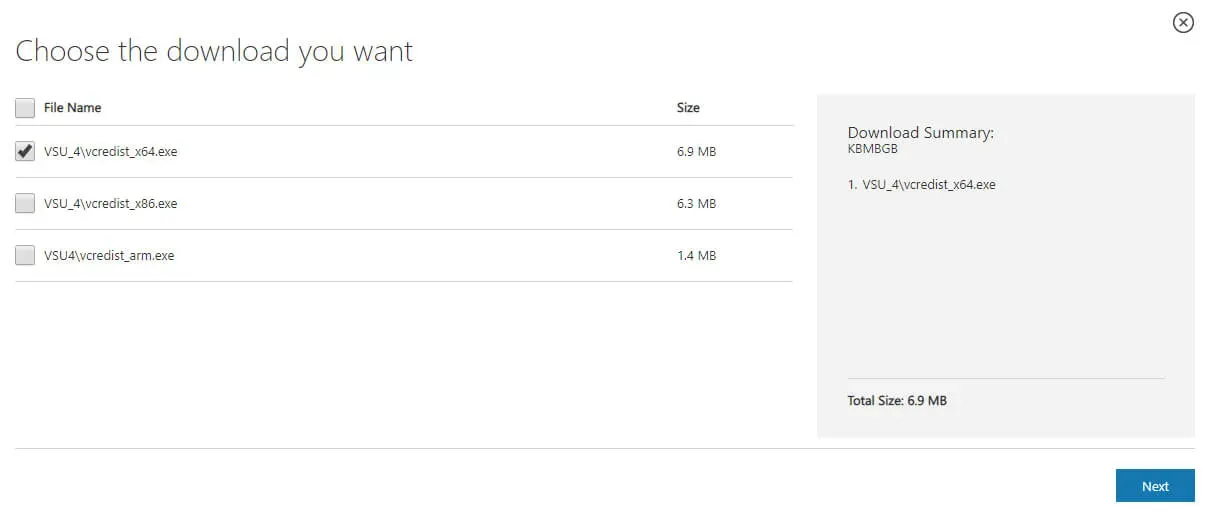
Select “VSU_4\vcredist_x64.exe” and click on the “Next” button.
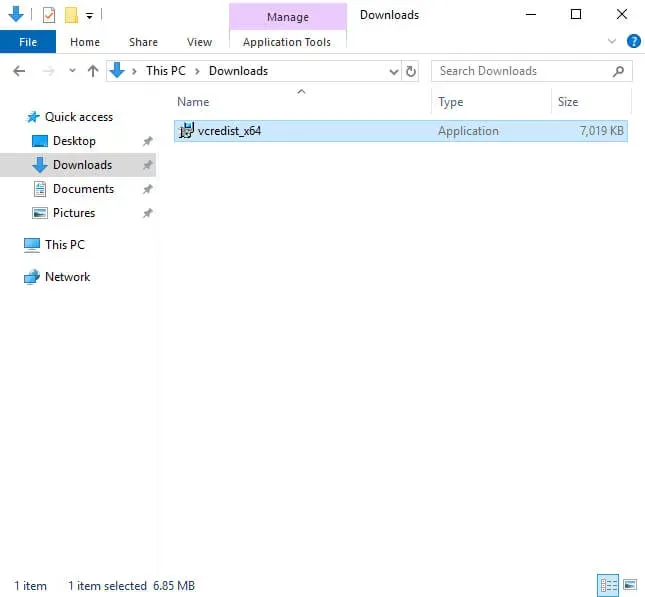
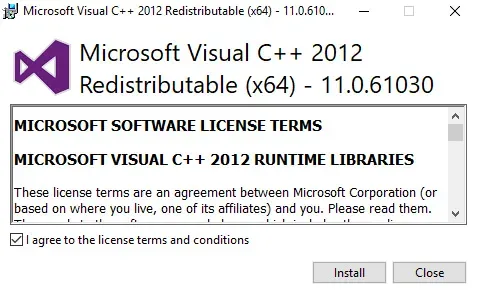
Run the downloaded Visual C++ Redistributable Package for Visual Studio 2012 installer file.
Next, you must accept the license terms, if you agree with them, and click on the “Install” button.
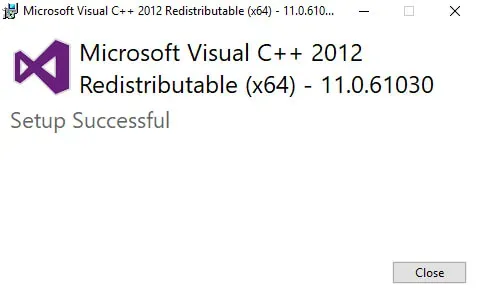
Installation of Visual C++ Redistributable Package for Visual Studio 2012 completed successfully.
Click on the “Close” button.
Now let’s install Visual C++ Redistributable Package for Visual Studio 2013.
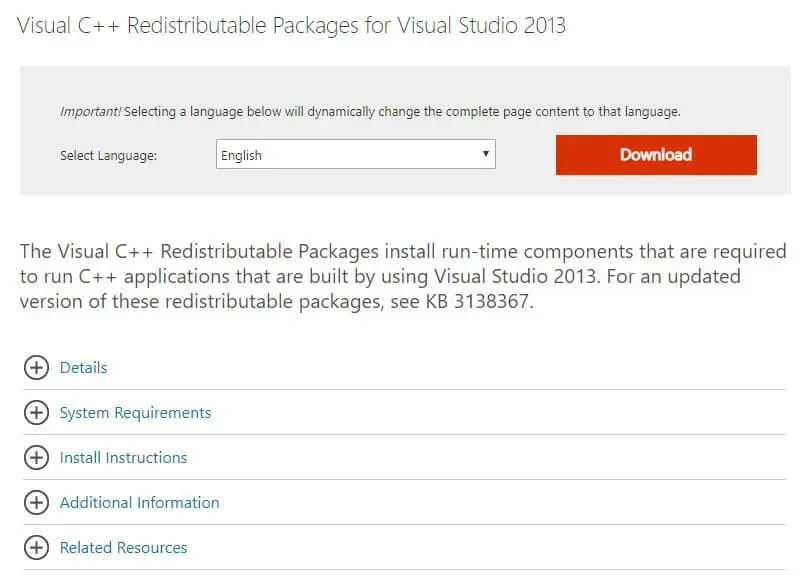
Navigate to the official download page and click the “Download” button to get started.
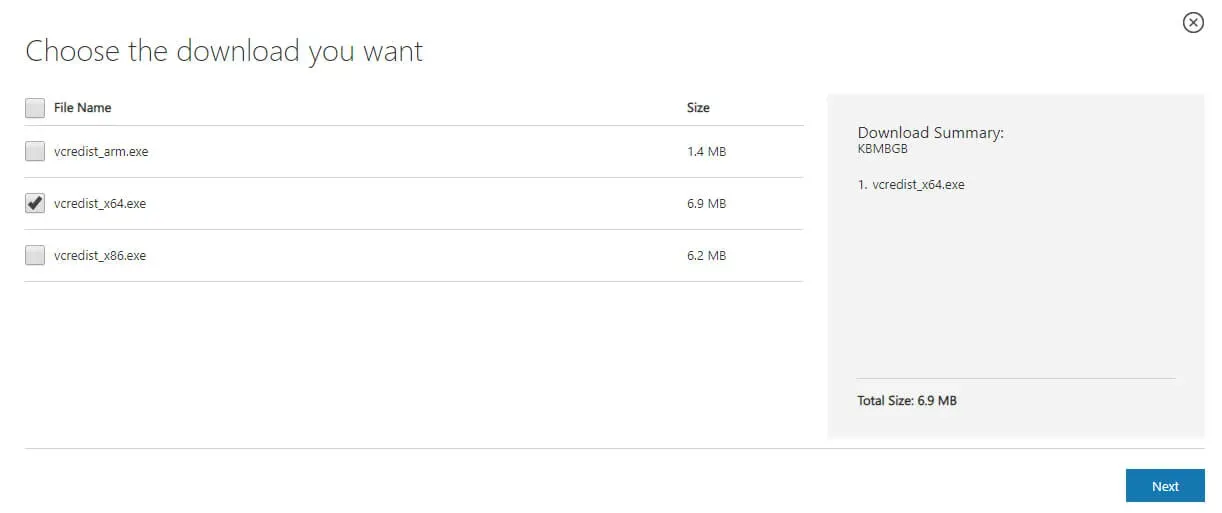
Select “vcredist_x64.exe” and click on the “Next” button.
Run the downloaded Visual C++ Redistributable Package for Visual Studio 2013 installer file.
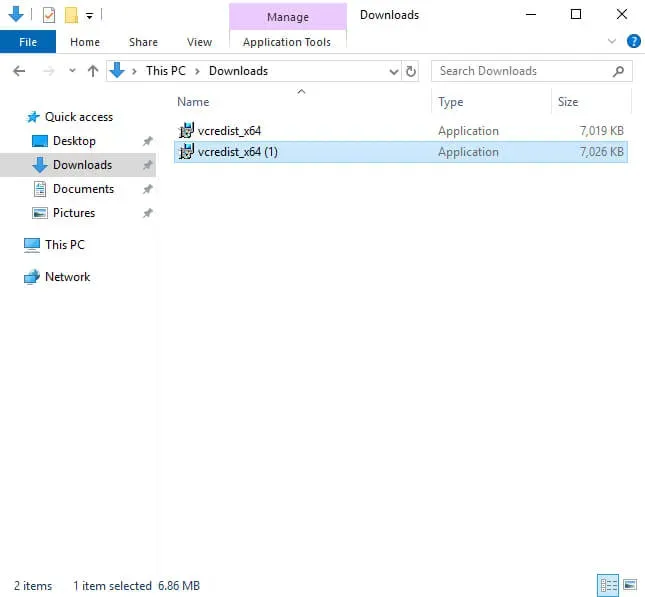
Next, you must accept the license terms, if you agree with them, and click on the “Install” button.
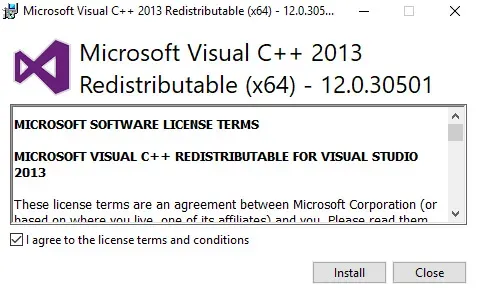
Installation of Visual C++ Redistributable Package for Visual Studio 2013 completed successfully.
Click on the “Close” button.
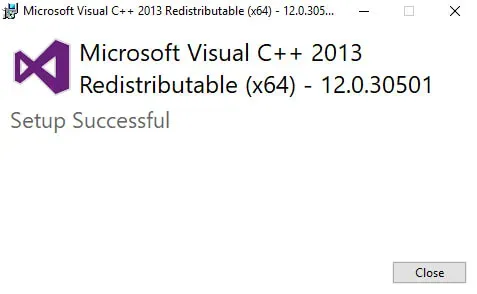
Now let’s install Unified Communications Managed API 4.0.
Visit the Microsoft download page and click the “Download” button to proceed.
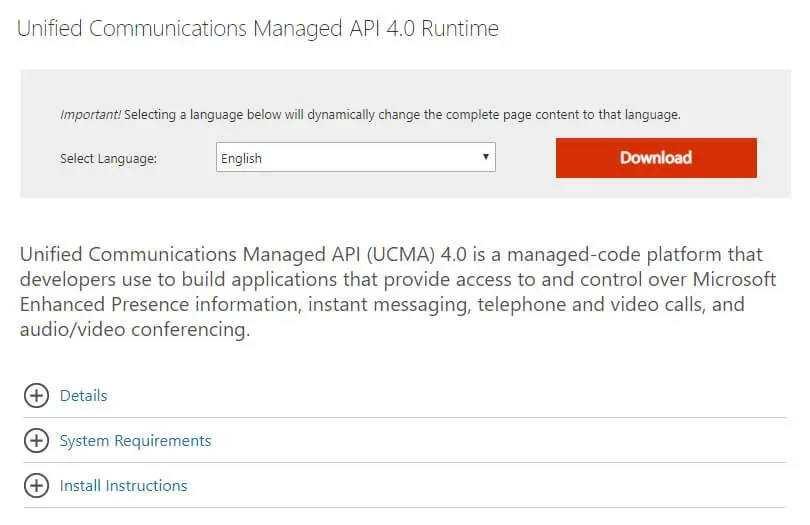
Run the downloaded Unified Communications Managed API 4.0 installer file.
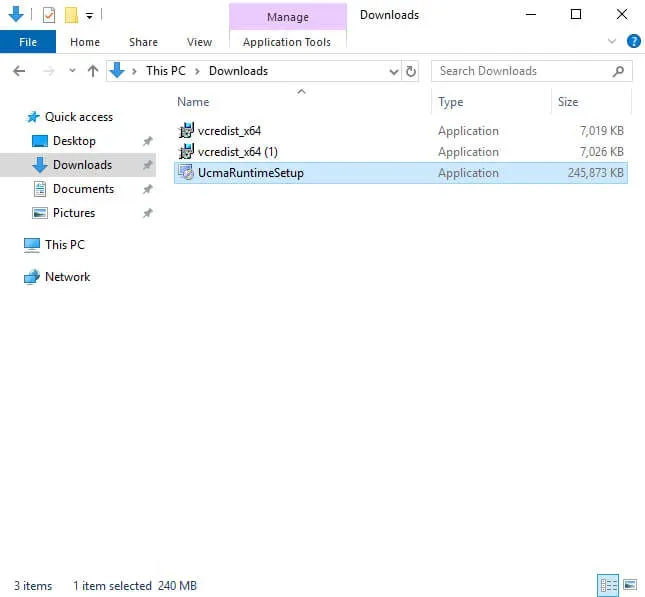
The “Unified Communications Managed API 4.0 Installation Wizard” will open.
Click on the “Next” button.
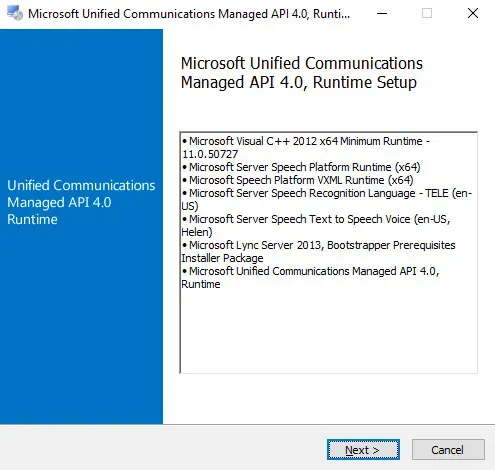
Next, you must accept the license terms, if you agree with them, and click on the “Next” button.
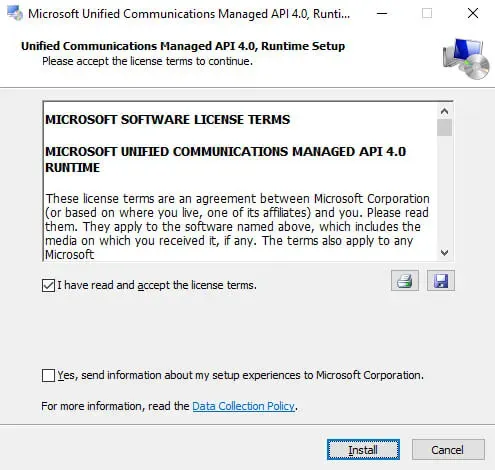
The installation process for “Unified Communications Managed API 4.0” has begun.
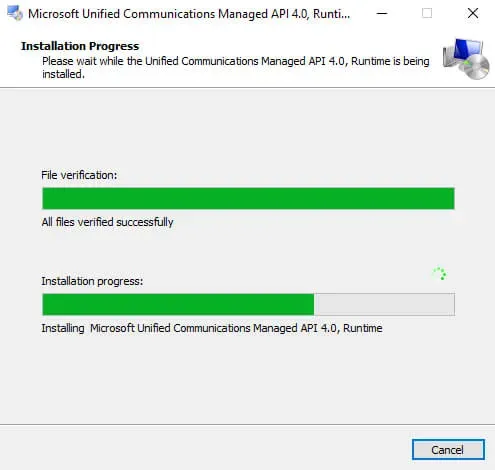
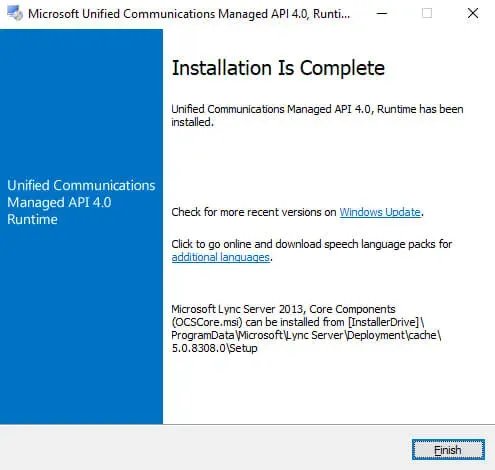
Installation of “Unified Communications Managed API 4.0” completed successfully.
Click on the “Finish” button.
Now you need to install the remote administration tools to prepare Active Directory for the Exchange Serve 2019 installation, as well as other components required for the Exchange server to work.
On the keyboard, press the key combination “Win” and “x” and in the menu that opens, select “Windows PowerShell (Admin)”.
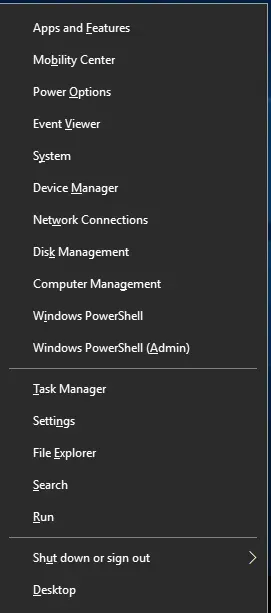
Install the remote administration tools for the subsequent preparation of Active Directory for the installation of Exchange Server 2019 using the command:
Install-WindowsFeature RSAT-ADDS 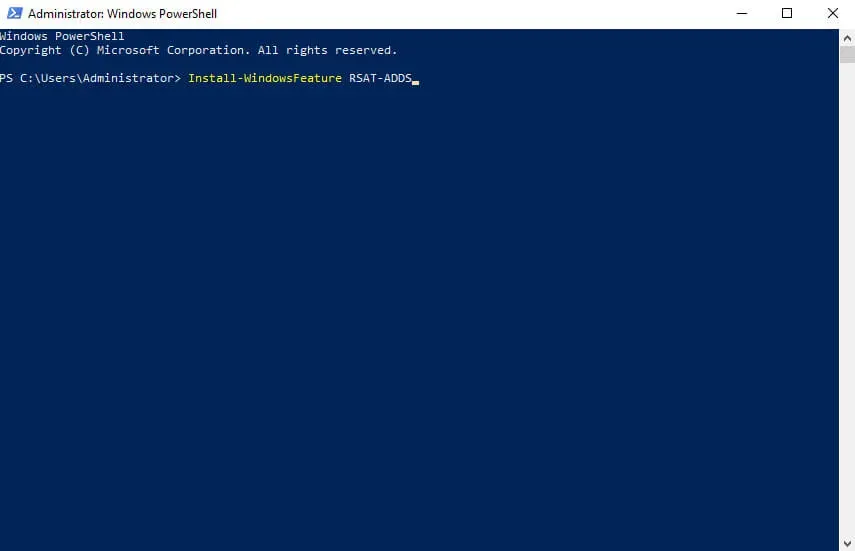
The process of installing the remote administration tools has begun.
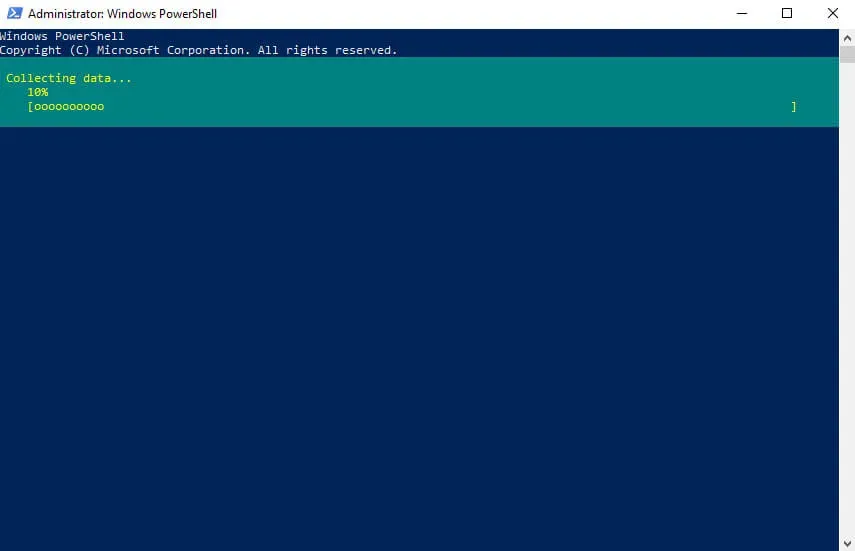
The installation process for the remote administration tools has completed successfully.
Next, you need to install the prerequisites for Lync Server or Skype for Business Server using the command:
Install-WindowsFeature Server-Media-Foundation 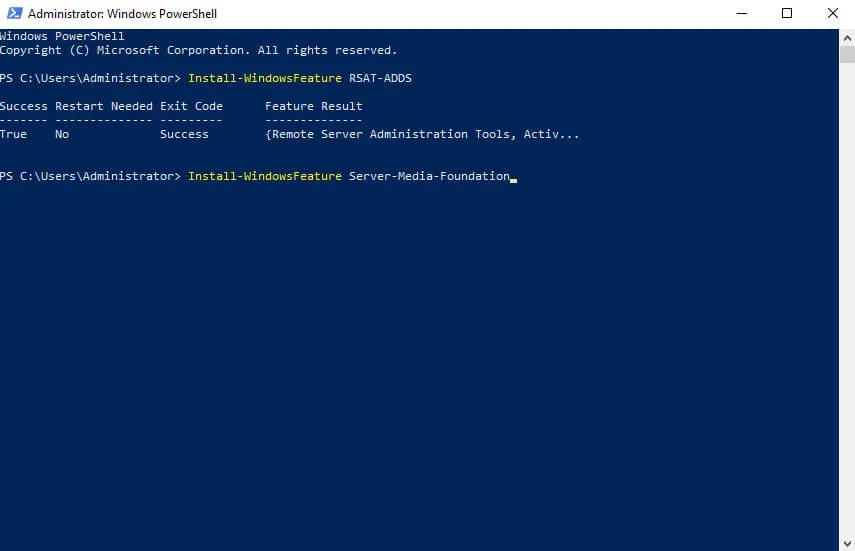
The prerequisites installation process for Lync Server or Skype for Business has begun.
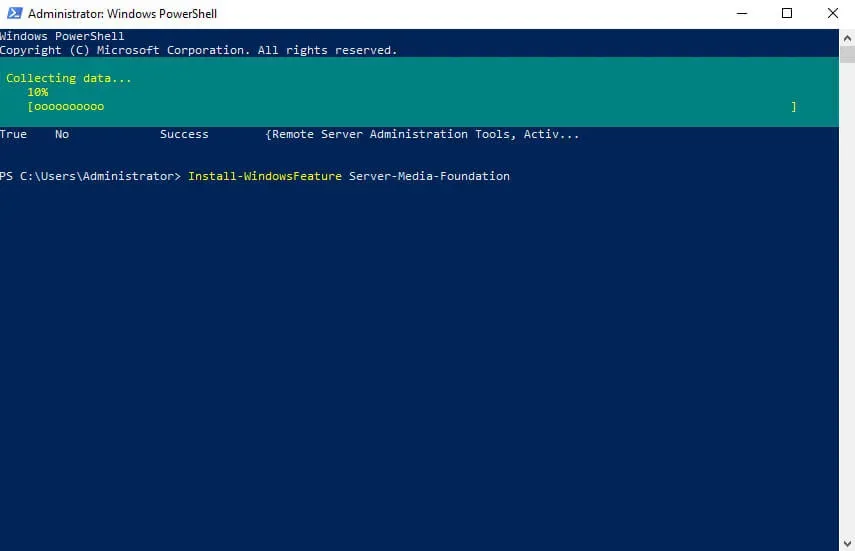
Installation of prerequisites for Lync Server or Skype for Business completed successfully.
Now you need to install additional components required for the Exchange server using the command:
Install-WindowsFeature NET-Framework-45-Features, RPC-over-HTTP-proxy, RSAT-Clustering, RSAT-Clustering-CmdInterface, RSAT-Clustering-Mgmt, RSAT-Clustering-PowerShell, WAS-Process-Model, Web-Asp-Net45, Web-Basic-Auth, Web-Client-Auth, Web-Digest-Auth, Web-Dir-Browsing, Web-Dyn-Compression, Web-Http-Errors, Web-Http-Logging, Web-Http-Redirect, Web-Http-Tracing, Web-ISAPI-Ext, Web-ISAPI-Filter, Web-Lgcy-Mgmt-Console, Web-Metabase, Web-Mgmt-Console, Web-Mgmt-Service, Web-Net-Ext45, Web-Request-Monitor, Web-Server, Web-Stat-Compression, Web-Static-Content, Web-Windows-Auth, Web-WMI, Windows-Identity-Foundation, RSAT-ADDS 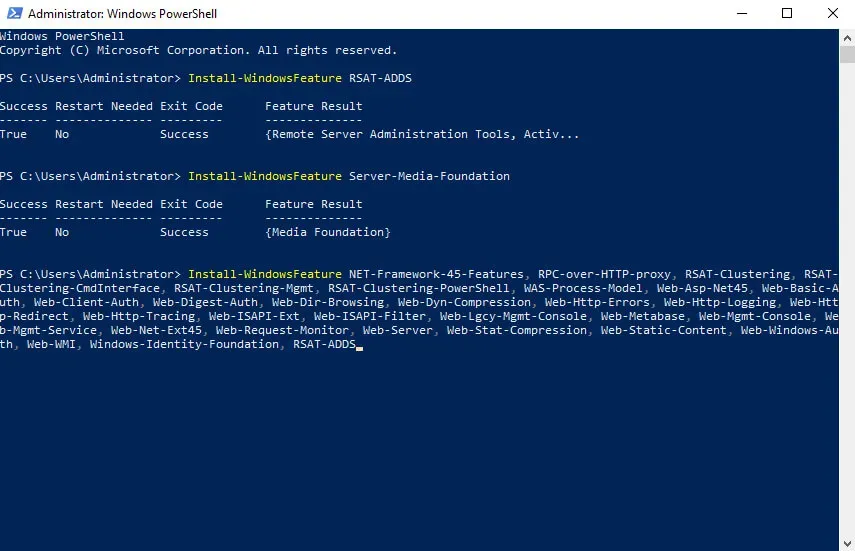
The process of installing additional components required for the Exchange Server has begun.
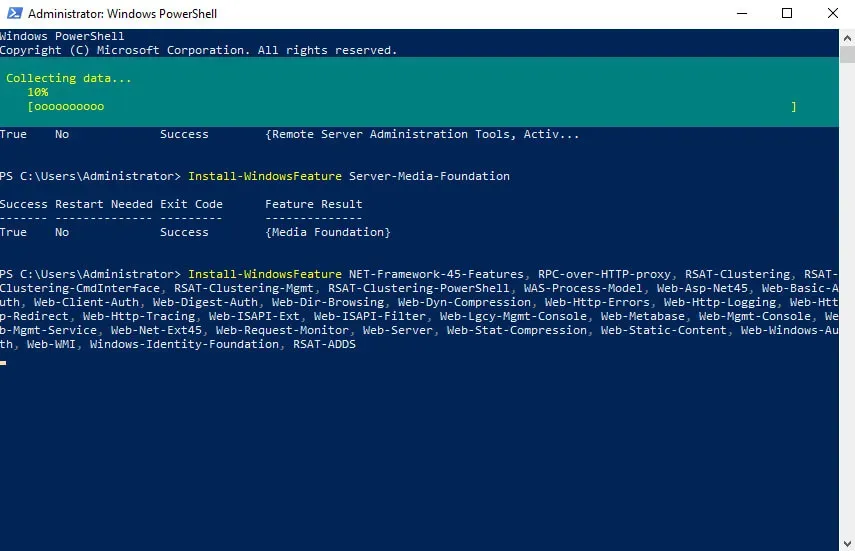
The installation of the additional components required for the Exchange Server has been completed successfully.
Now you need to reboot the server.
On the keyboard, press the key combination “Win” and “x”, in the menu that opens, select “Shut down or sign out”, then “Restart”.
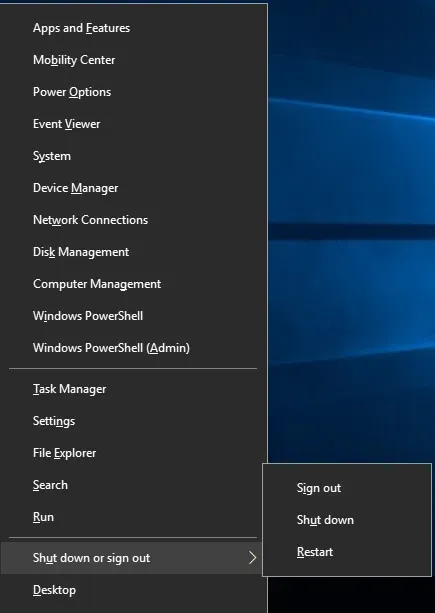
In the window that opens, select “Other (Planned)” and click on the “Continue” button.
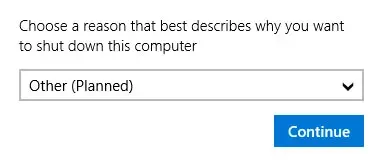
The server will start to reboot.
Now you need to prepare Active Directory to work with Exchange Server.
On the future Exchange server, go to the system under an account that consists of the following groups: Enterprise Admins, Schema Admins, and Domain Admins.
On the keyboard, press the key combination “Win” and “x” and in the menu that opens, select “Windows PowerShell (Admin)”.
Go to drive “D” (virtual drive), where the Exchange Server 2019 installation files are located, using the command:
cd D:\ 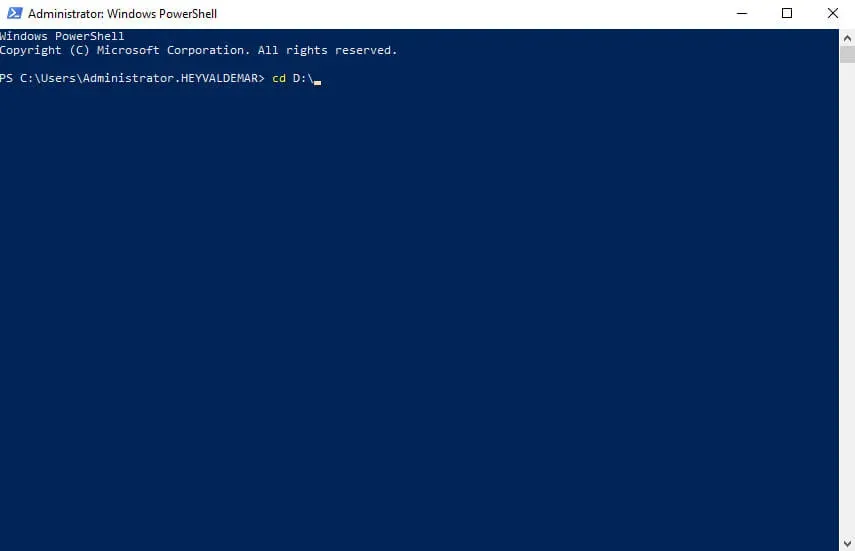
Let’s prepare the Active Directory schema to work with Exchange Server using the command:
E:\Setup.exe /IAcceptExchangeServerLicenseTerms_DiagnosticDataON /PrepareSchema 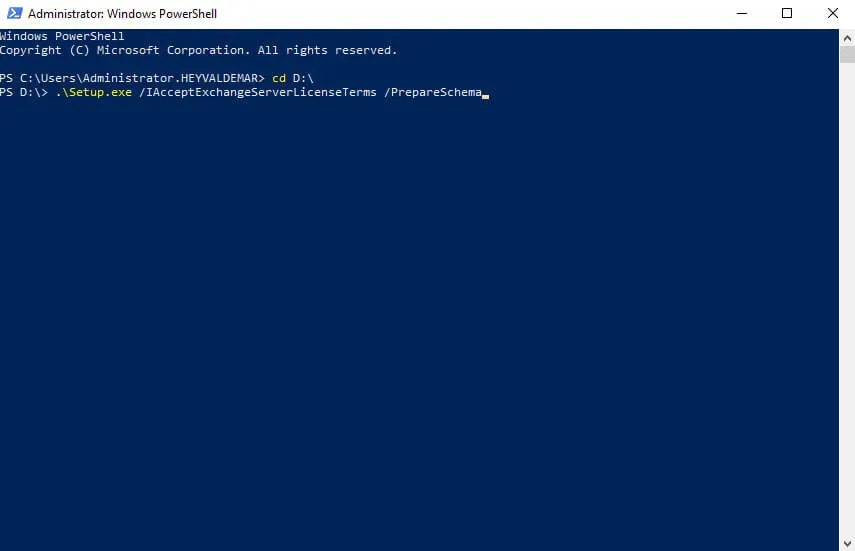
The process of preparing the Active Directory schema has begun.
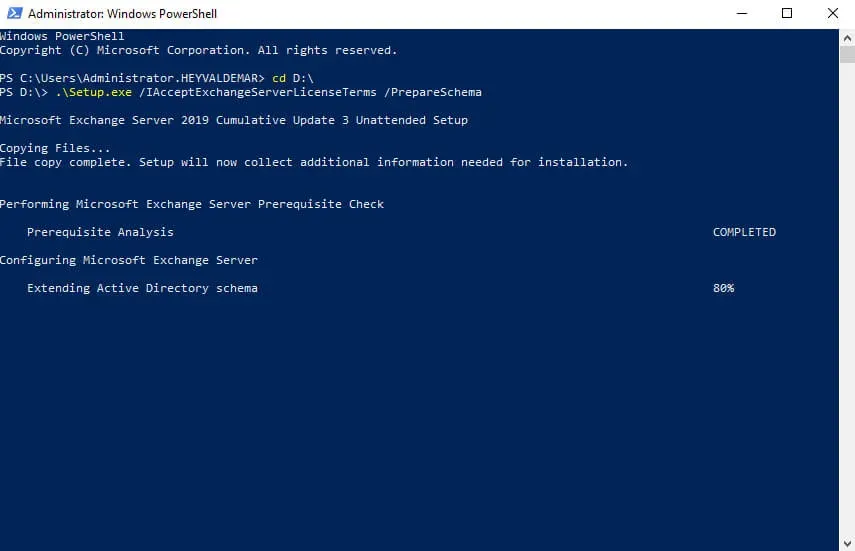
The Active Directory schema preparation process completed successfully.
Now you need to prepare containers, objects, and other Active Directory components and create the Exchange organization.
NOTEAfter “OrganizationName” you must indicate the name of your organization in English.
Let’s prepare containers, objects, and other Active Directory components, as well as create an Exchange organization, using the command:
E:\Setup.exe /IAcceptExchangeServerLicenseTerms_DiagnosticDataON /PrepareAD /OrganizationName:"heyvaldemar"NOTEThis manual uses the organization’s name “heyvaldemar”.
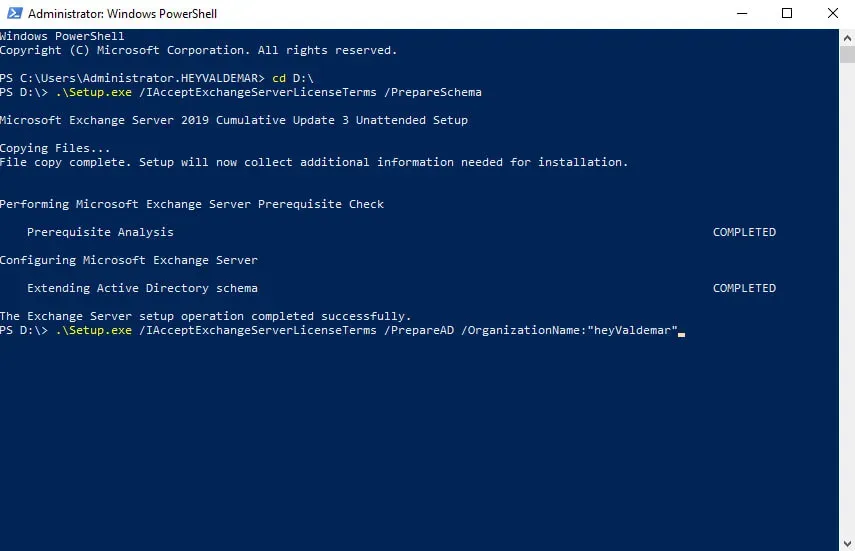
The process of preparing containers, objects, and other Active Directory components has begun.
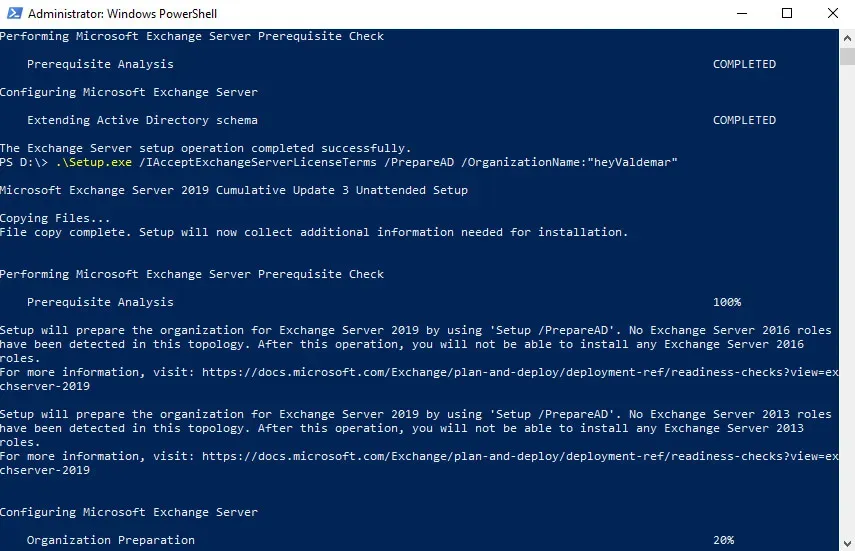
The preparation process for containers, objects, and other Active Directory components has been completed successfully.
Now you need to prepare the domain for the Exchange Server installation.
Prepare a domain for installing Exchange Server using the command:
E:\Setup.exe /IAcceptExchangeServerLicenseTerms_DiagnosticDataON /PrepareDomain:heyvaldemar.netNOTEThis tutorial uses the
heyvaldemar.netdomain.
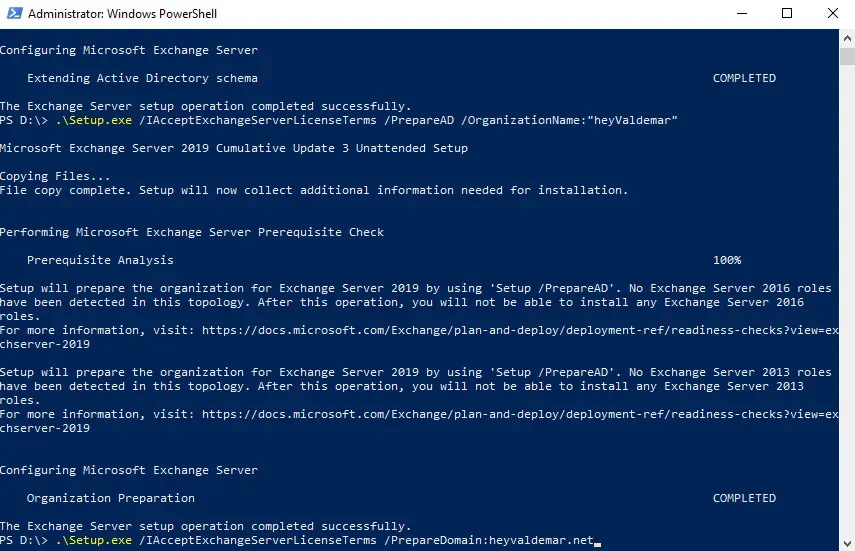
The process of preparing the domain has begun.
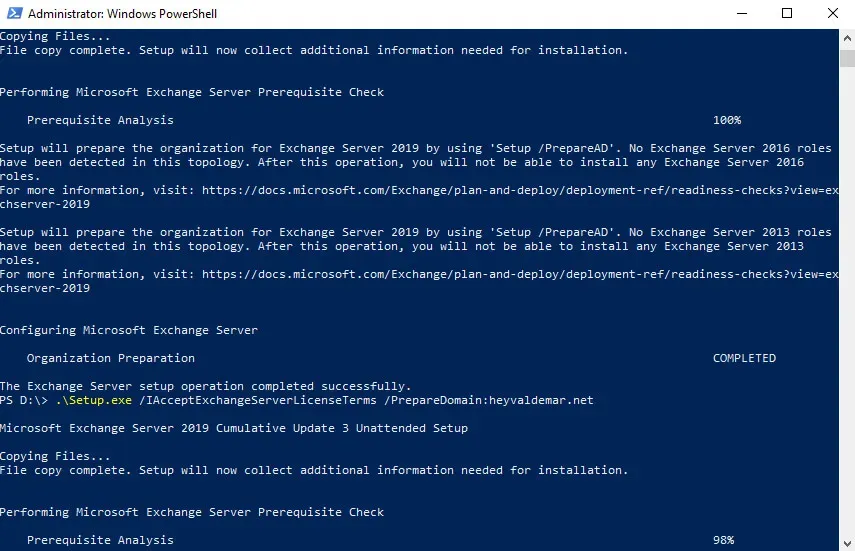
The domain preparation process has completed successfully.
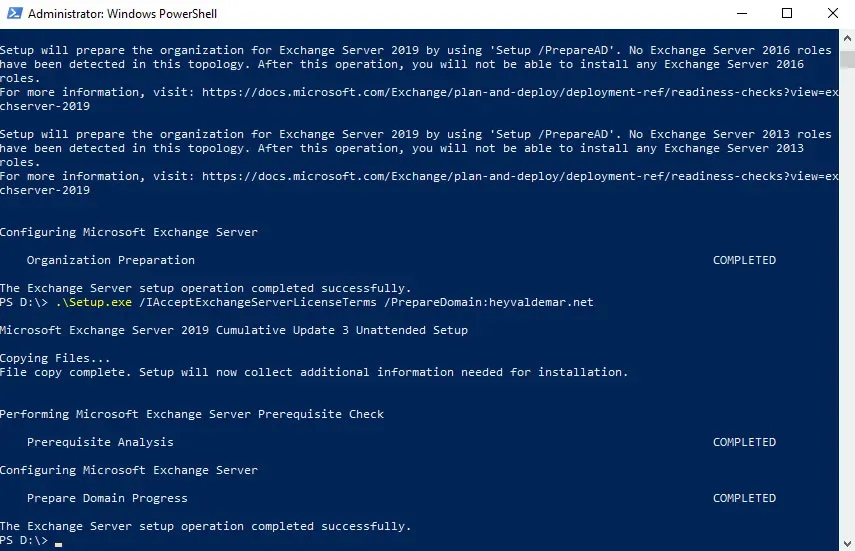
Now you can start installing Exchange Server 2019.
Go to drive “D” (virtual drive) where the Exchange Server 2019 installation files are located and run “Setup.exe”.
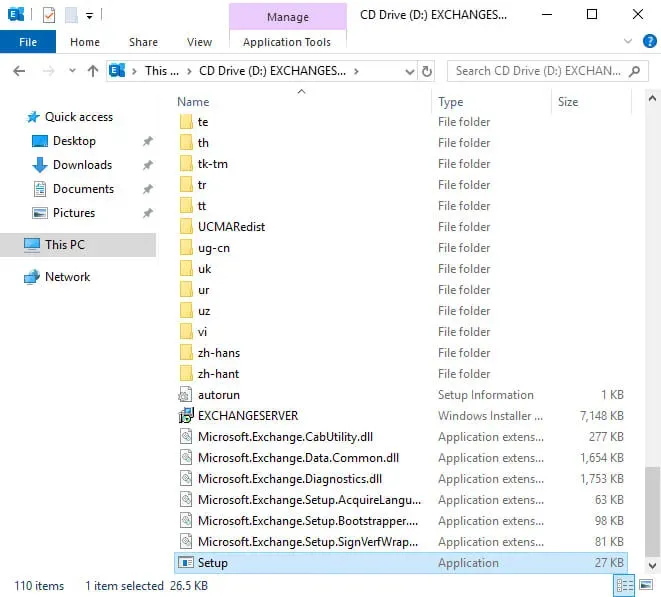
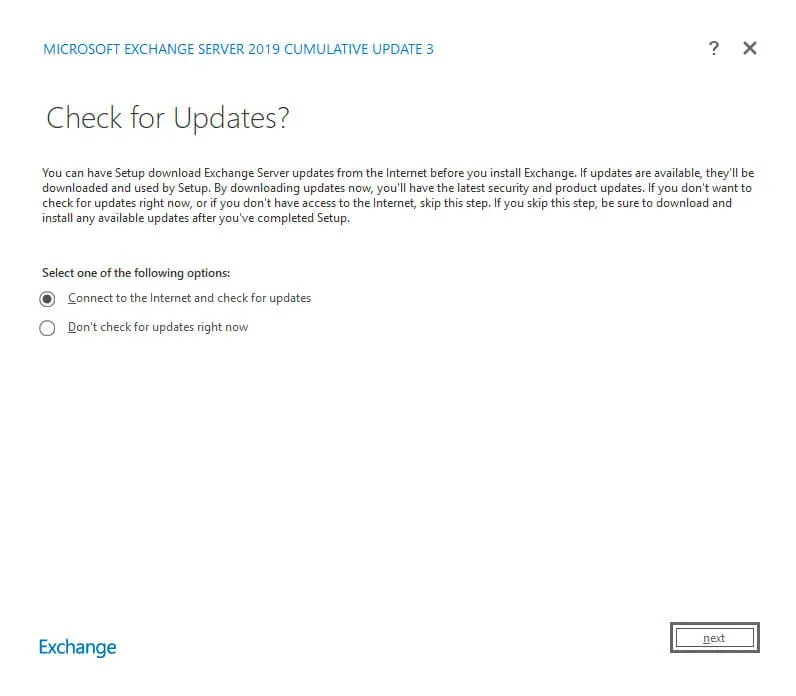
At this point, you can check for updates to Exchange Server 2019.
Select “Connect to the Internet and check for updates” and click on the “Next” button.
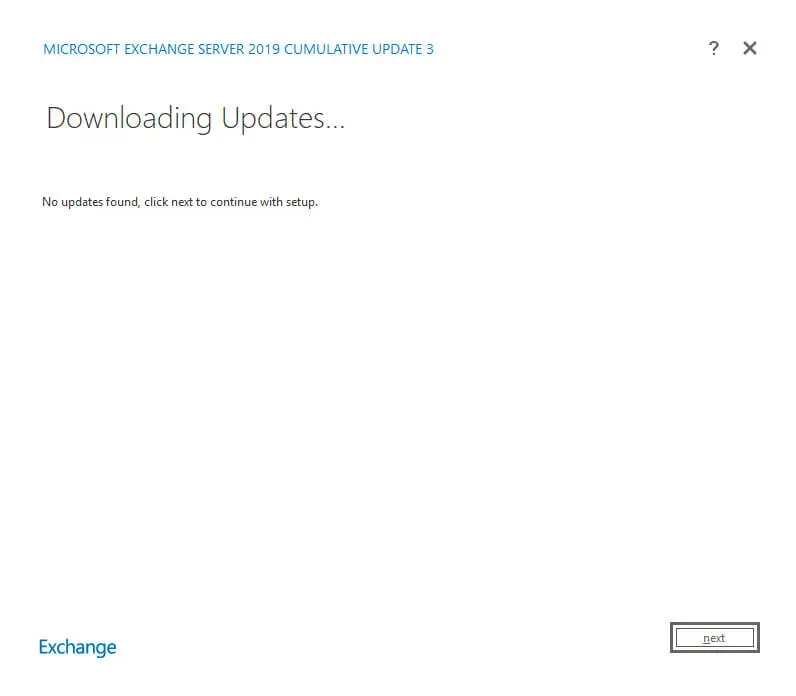
There are currently no updates for Exchange Server 2019.
Click on the “Next” button.
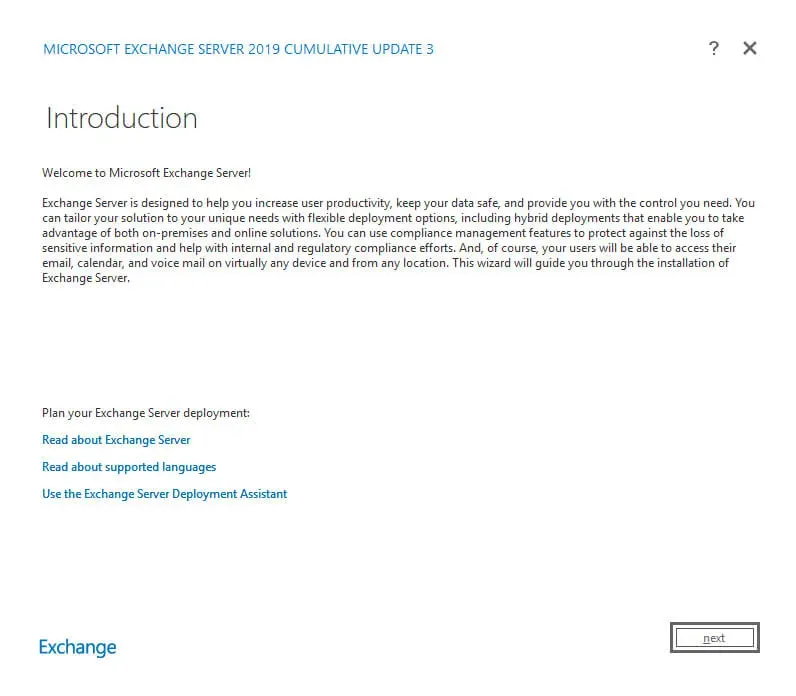
Next, the “Exchange Server Setup Wizard” invites you to familiarize yourself with information regarding Exchange Server 2019.
Click on the “Next” button.
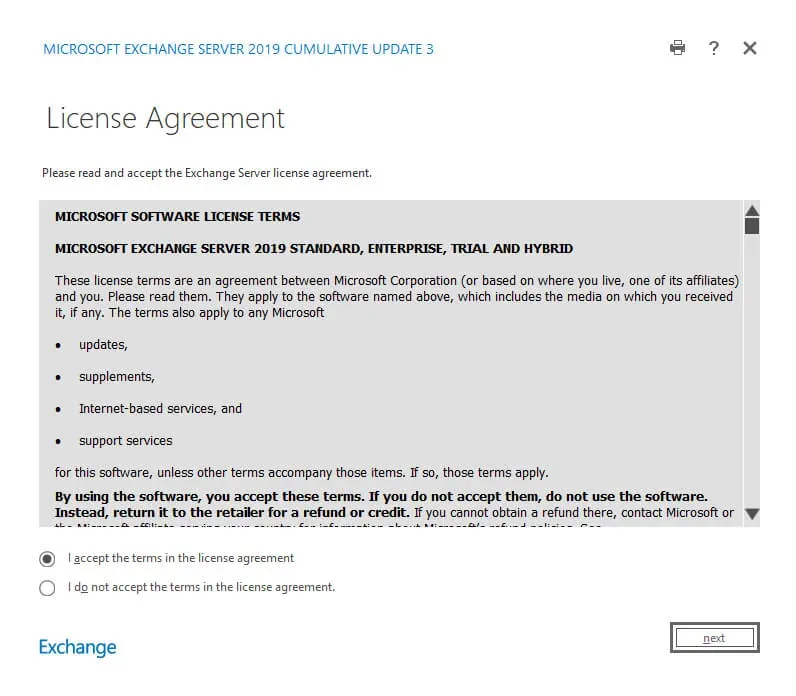
Next, you must accept the license terms, if you agree with them, and click on the “Next” button.
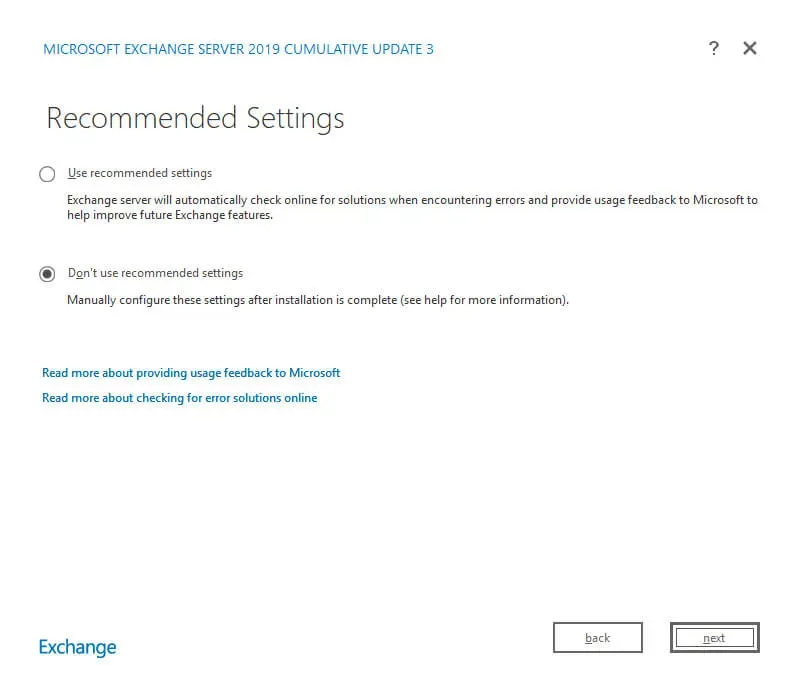
We select “Don’t use recommended settings” so that the Exchange server does not automatically send error reports and other information on the use of the Exchange server to Microsoft.
Click “Next”.
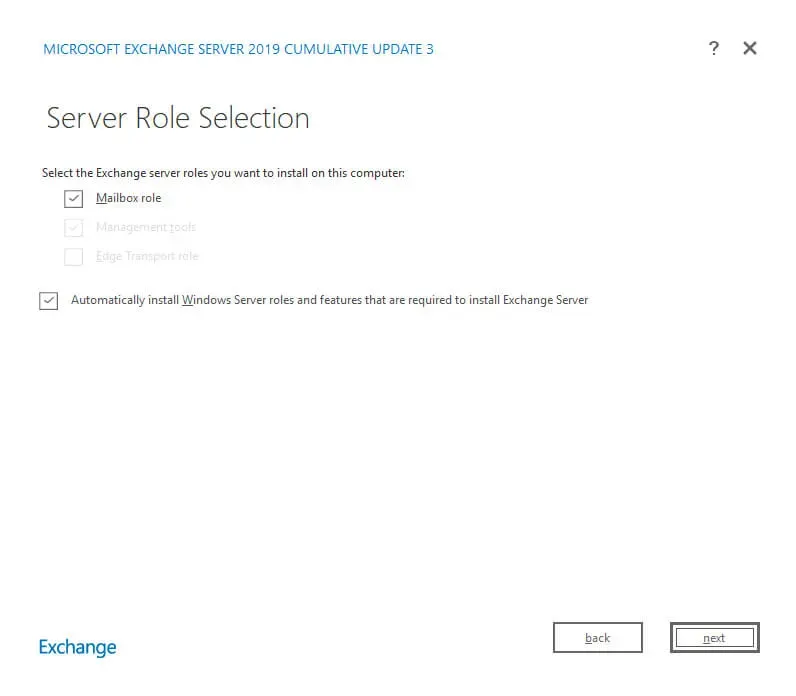
Now you need to choose which roles will be installed on your server.
Select “Mailbox role”, then select “Automatically install Windows Server roles and features that are required to install Exchange Server” and click on the “Next” button.
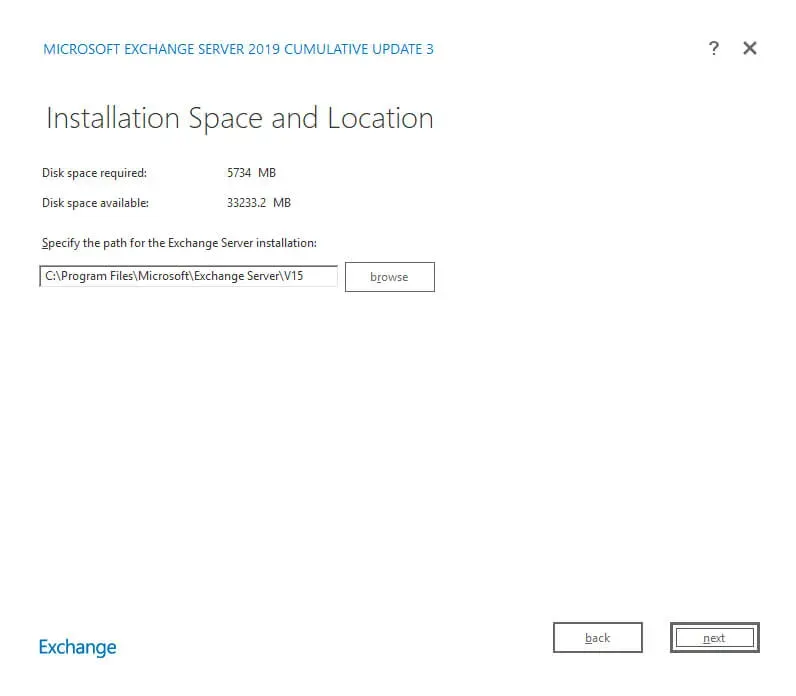
Next, you can select the directory where Exchange Server 2019 should be installed.
Leave the settings unchanged and click on the “Next” button.
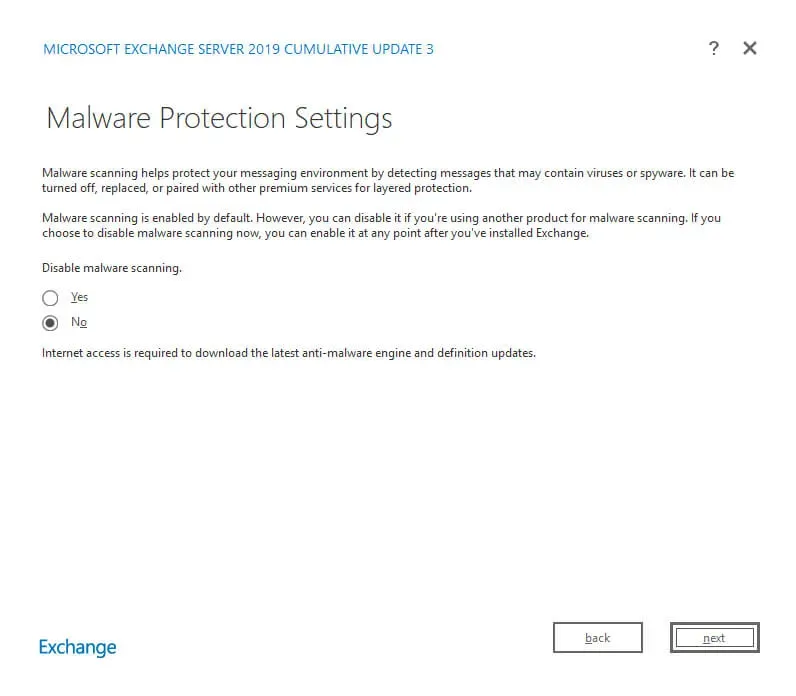
You can now configure your anti-malware settings.
In the “Disable malware scanning” item, select “No” and click on the “Next” button.
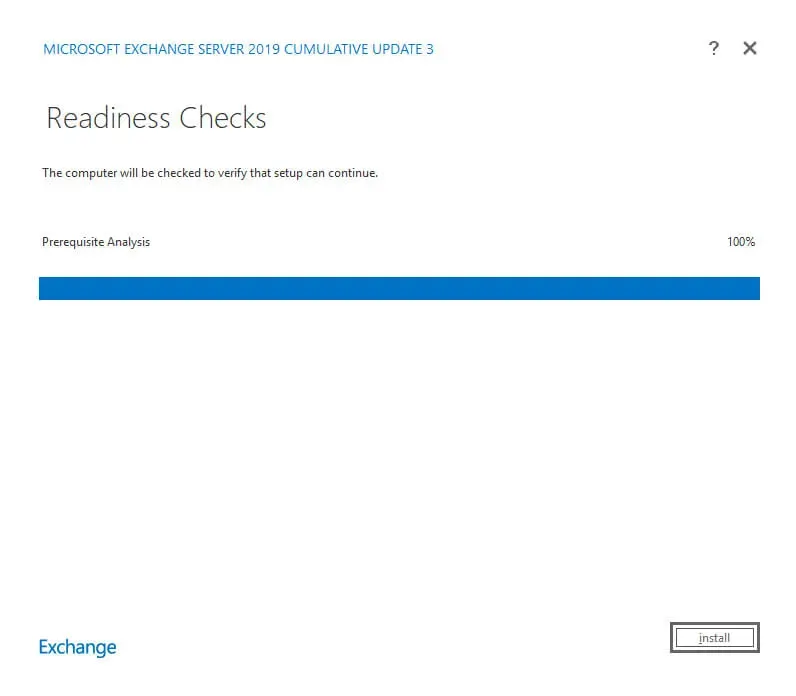
Next, the process of checking readiness for installation will begin, after it is completed, you can start the installation process for Exchange Server 2019.
Click on the “Install” button.
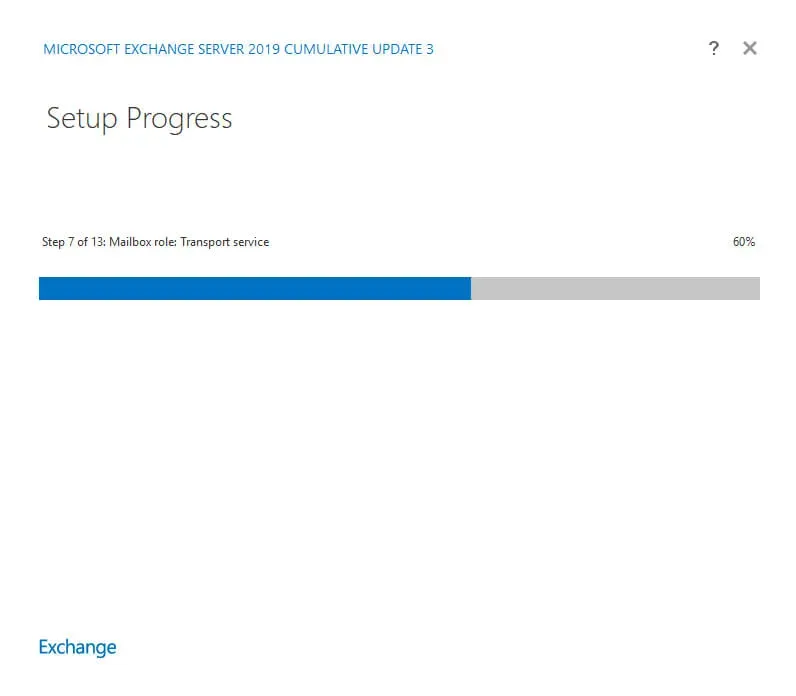
The installation process for Exchange Server 2019 has begun.
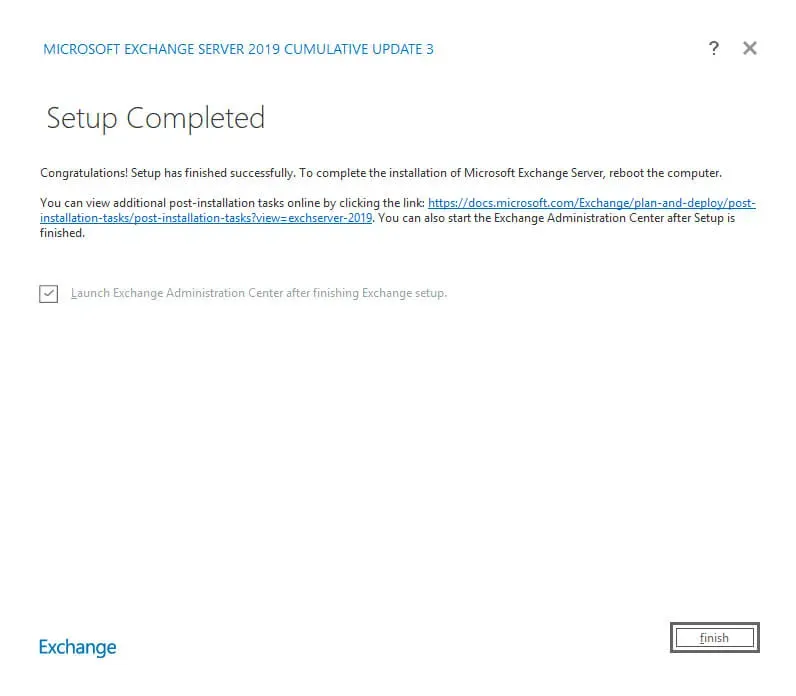
Exchange Server 2019 installation completed successfully.
Select “Launch Exchange Administration Center after finishing Exchange setup” and click on the “Finish” button.
NOTEThe Exchange Administration Center is used to administer the Exchange server, available at
https://heva-server-2/ecp, whereheva-server-2is the name of my Exchange server. Accordingly, you need to specify the name or IP address of your server with Exchange Server 2019 installed.
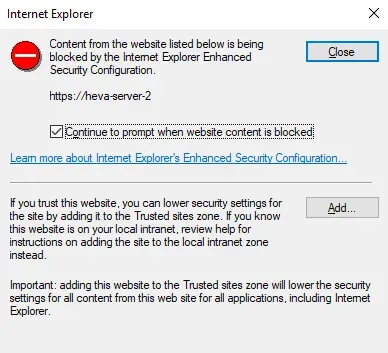
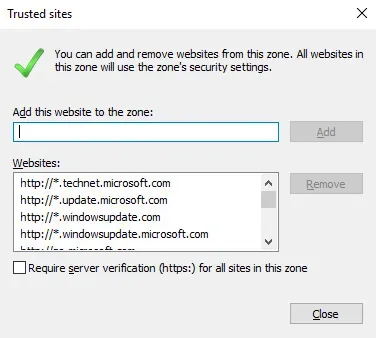
To display the Exchange Administration Center Control Panel correctly, you must add the Exchange Server address to Trusted Sites in Internet Explorer.
Click on the “Add” button.
In the “Add this website to the zone” field, specify the address of the Exchange server and click on the “Add” button.
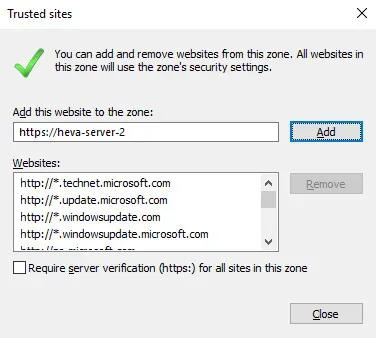
The Exchange server address has been added to the list of trusted sites.
Click on the “Close” button.
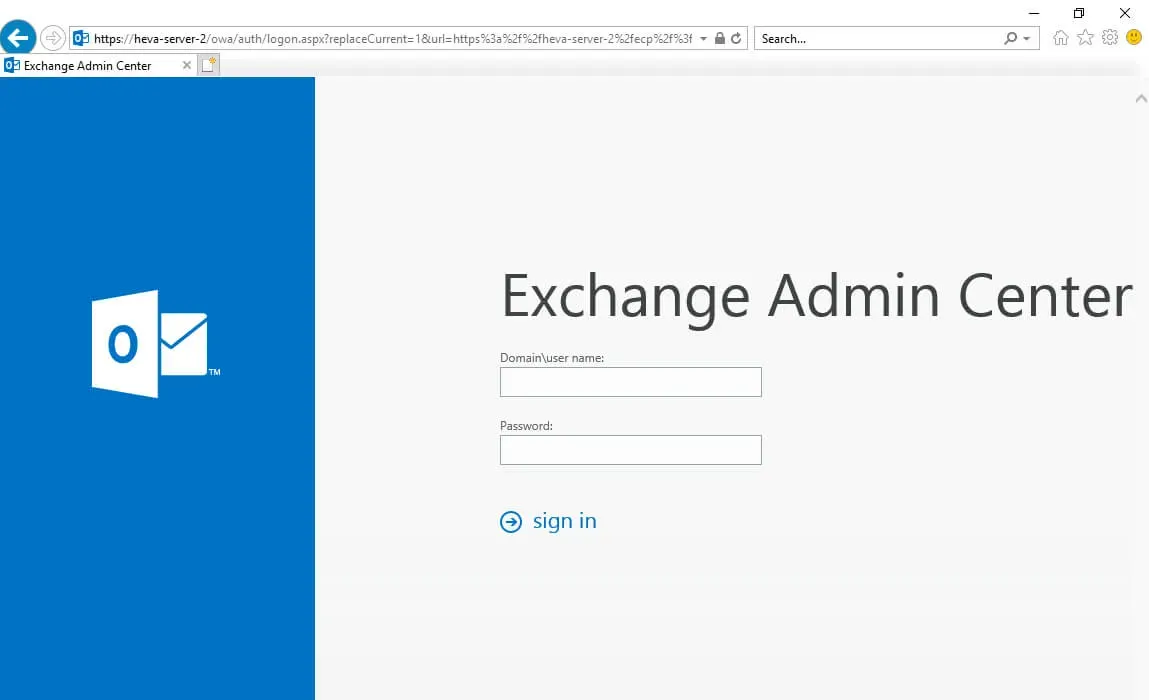
Next, you need to specify the username and password of an account with Exchange administrator rights and click on the “Sign in” button.
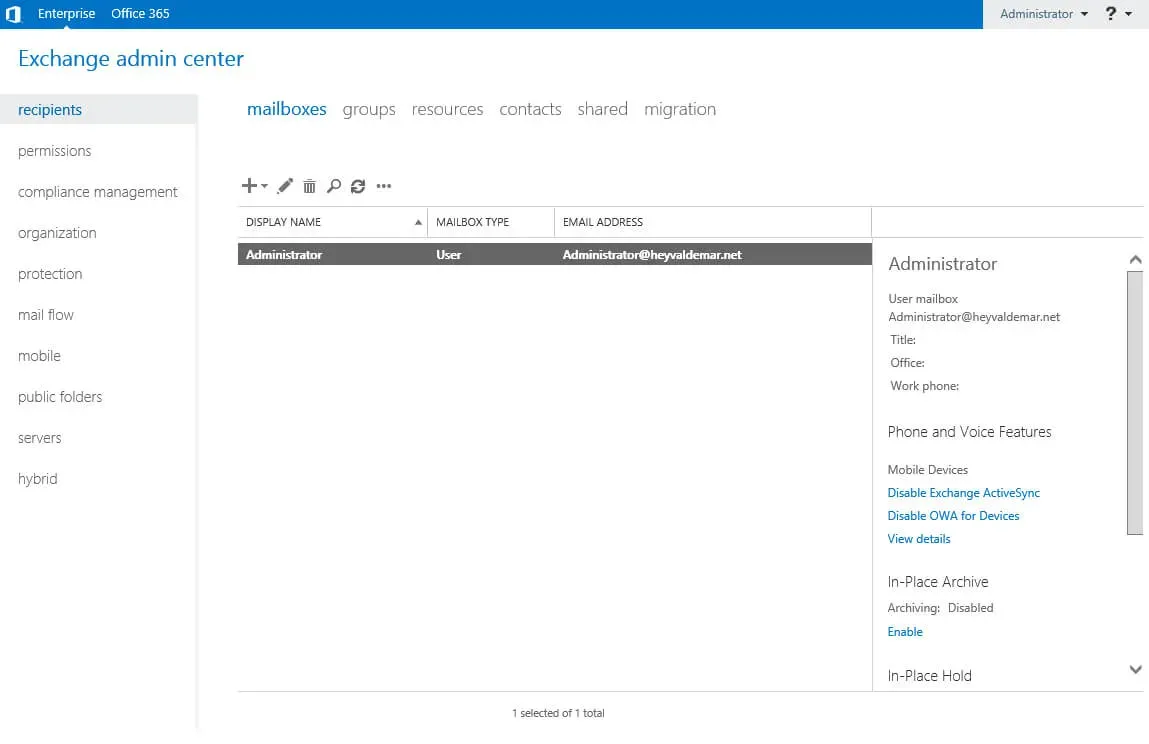
Welcome to the Exchange Admin Center Control Panel.
You can now check the status of the Exchange Server services.
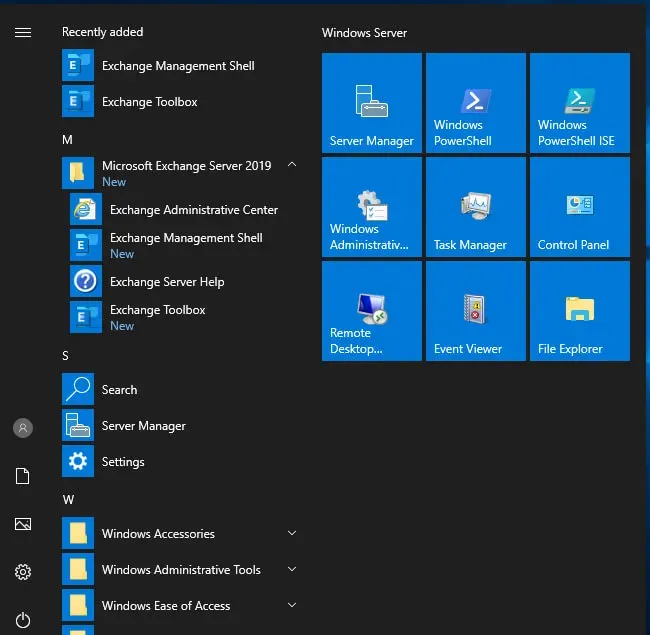
From the Start menu, find “Microsoft Exchange Server 2019” and select “Exchange Management Shell”.
Let’s check the status of the Exchange Server services using the command:
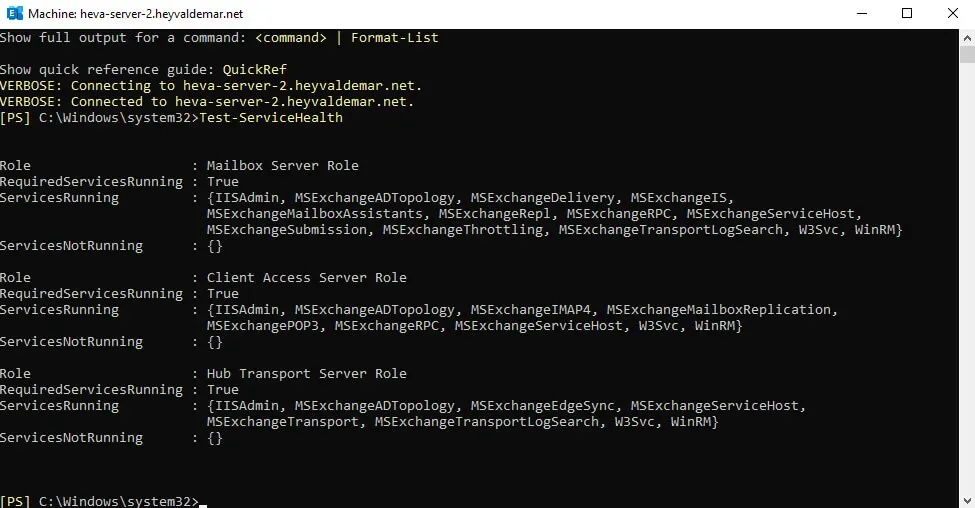
Test-ServiceHealth 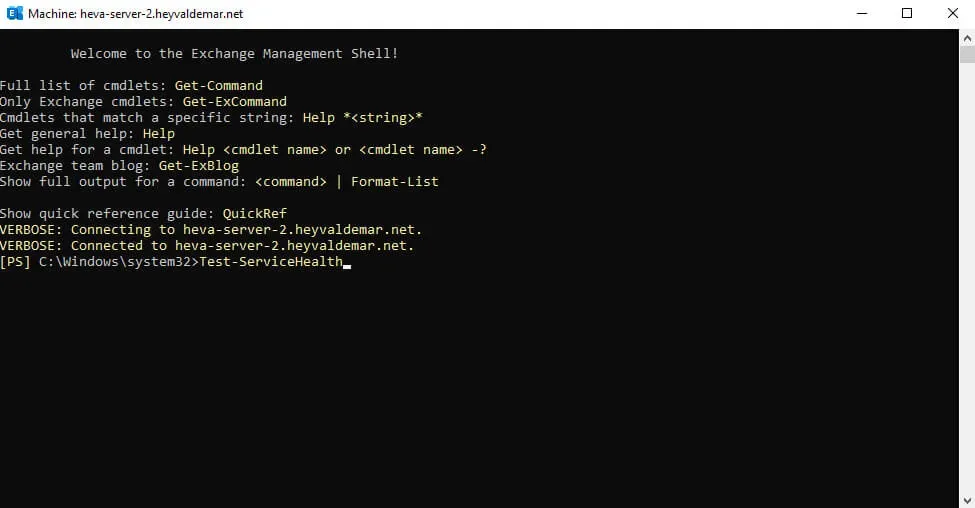
Service check completed successfully.
A “True” value in “RequireServiceRunning” indicates that the services are running.